How to Initialize the Matomo Installation
Once your Matomo is deployed, you will need to initialize its installation, which take about 5 minutes. This article will show you how we go about the installation.
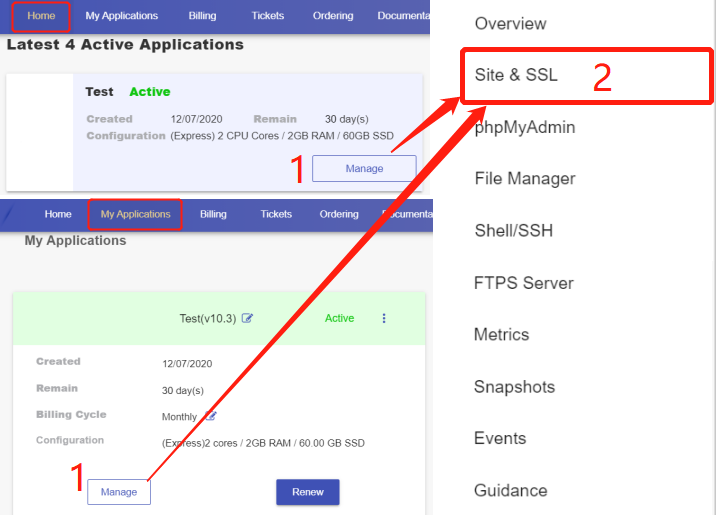
1. Navigate to the "Site & SSL" page
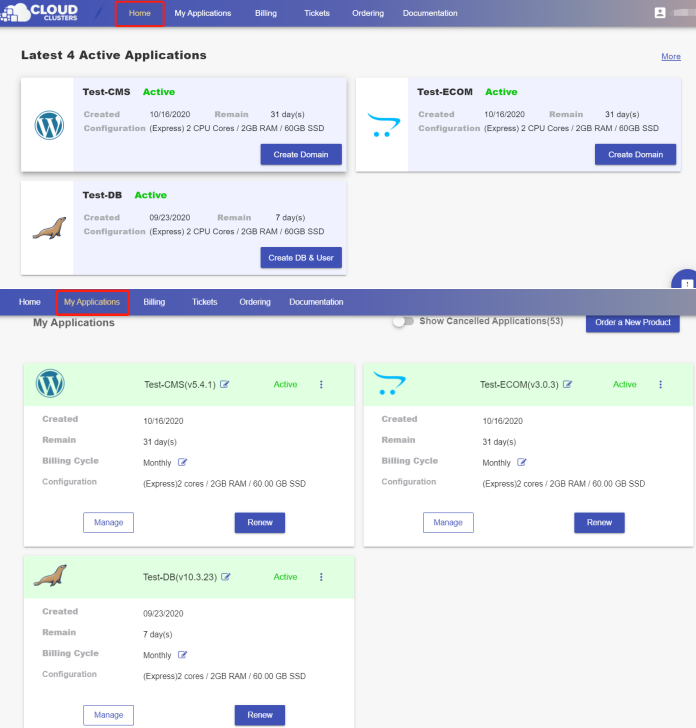
Please log in to the Control Panel with your credentials. Then locate your target deployment on the Home page or the My Applications page.
Click the "Manage" button on the Home page or the My Applications page, followed by the “Site & SSL” tab.
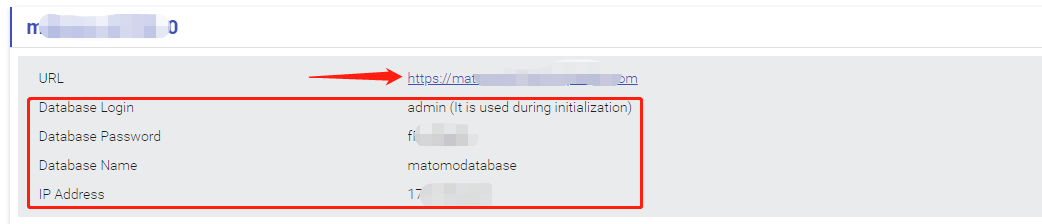
2. Go to the URL for Matomo
On this page, you will get the URL for Matomo and database & IP information, which will be required during the installation. Click the URL, and you will see the Matomo Installation welcome screen.
3. Initialize the Matomo Installation
Click Next to start the installation.

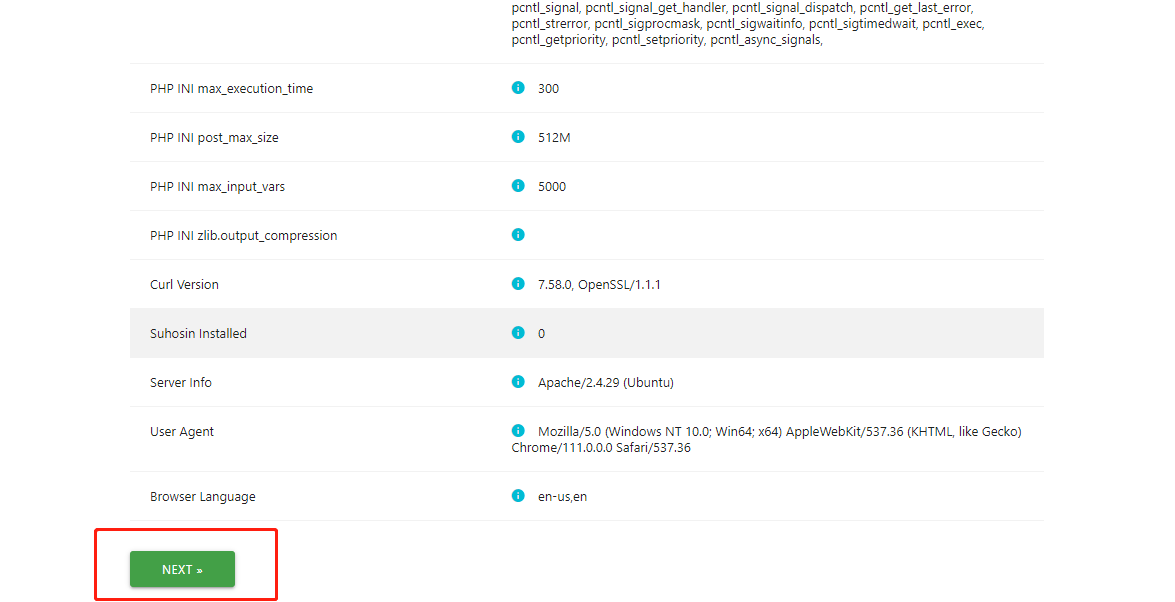
System Check
Matomo will check to make sure that the server meets the Matomo requirements. Cloud Clusters has already configured the server to meet Matomo requirements, so everything should be okay, and you’ll see a long list like this:
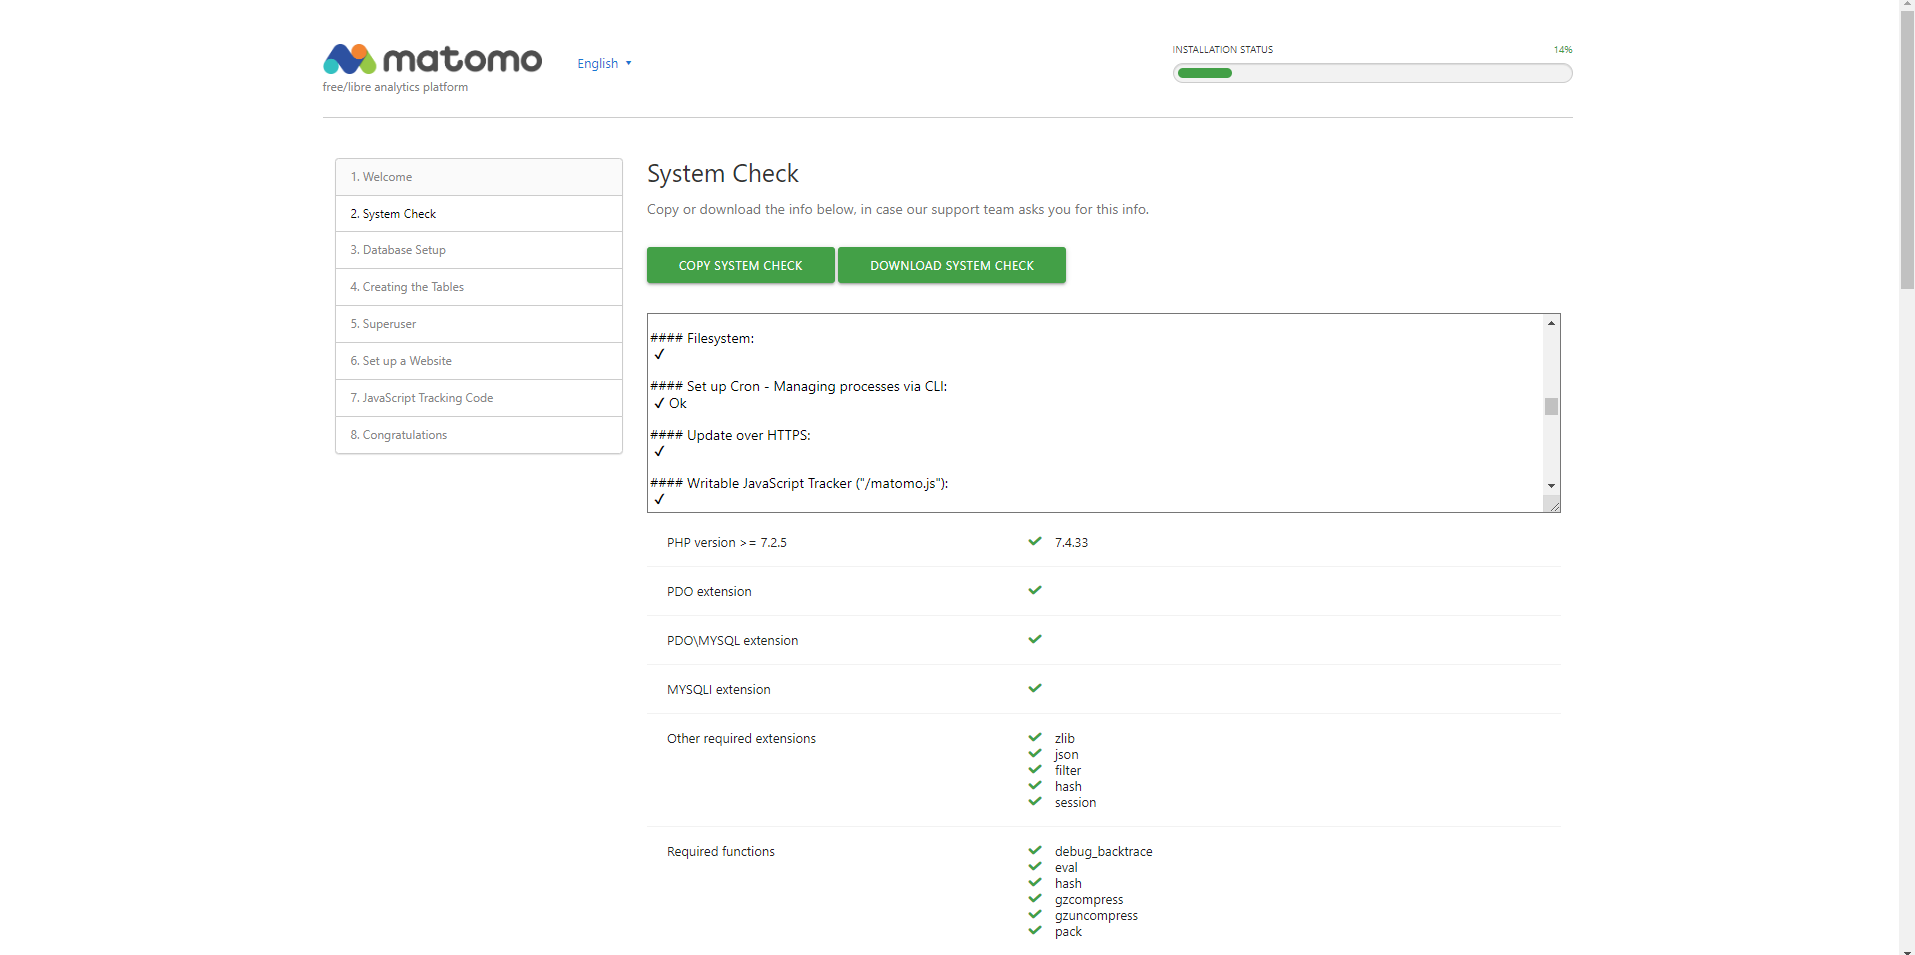
Scroll down to the buttom of the page and click Next.
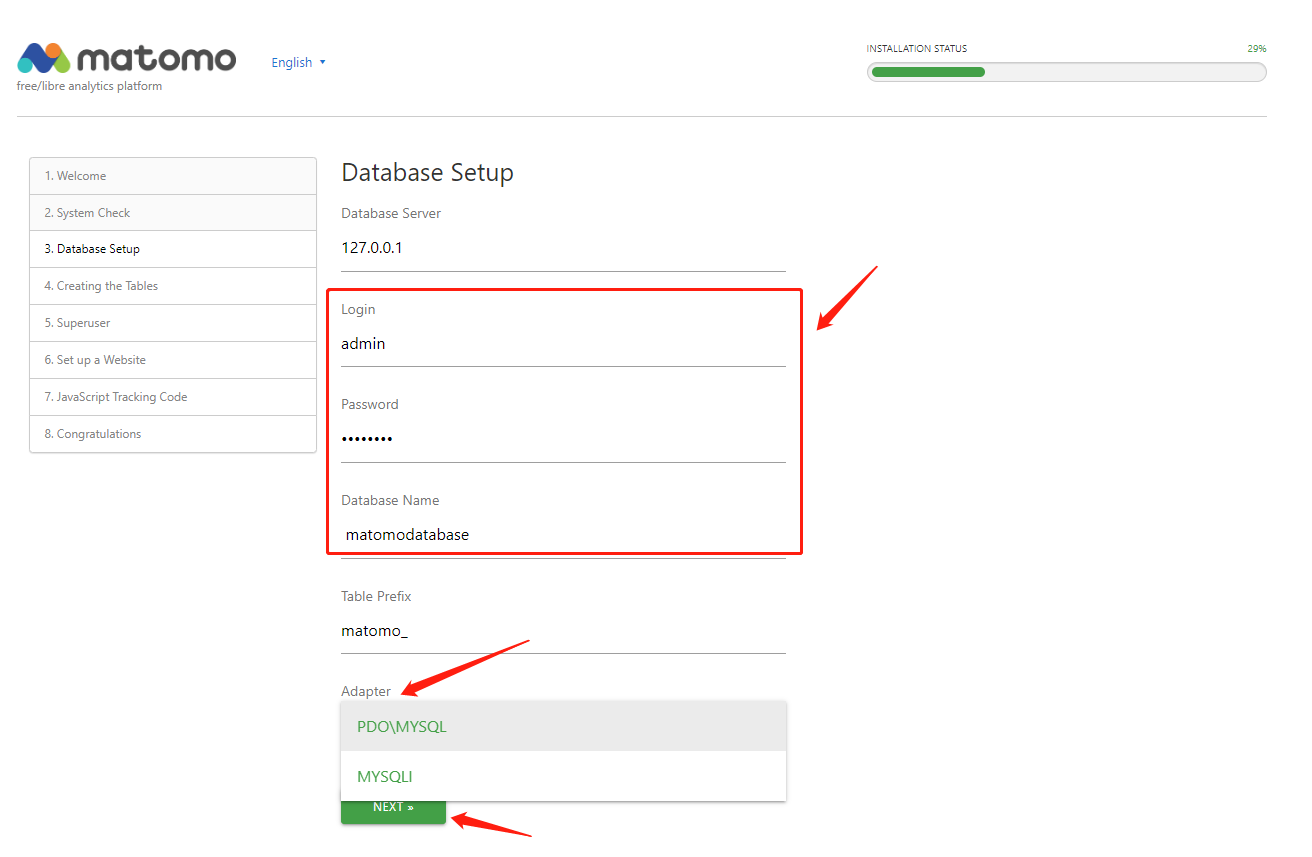
MySQL Database Setup
Input the database information that is shown on the "Site & SSL" page. Then, choose the adapter according to your needs, and click next.
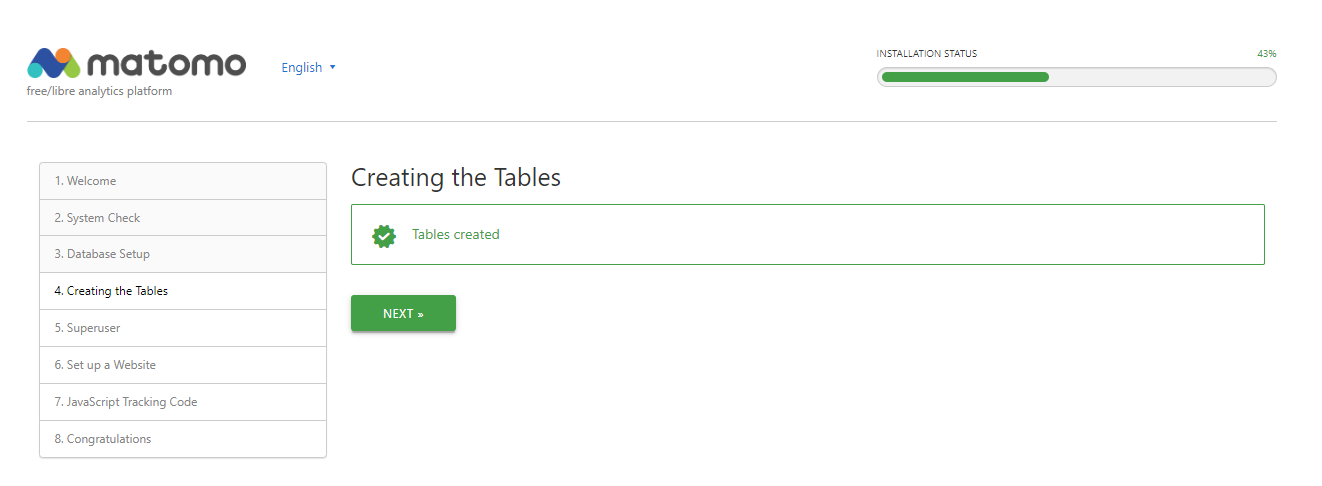
Creating the tables
Matomo will add the necessary tables to your database. Simply click Next.
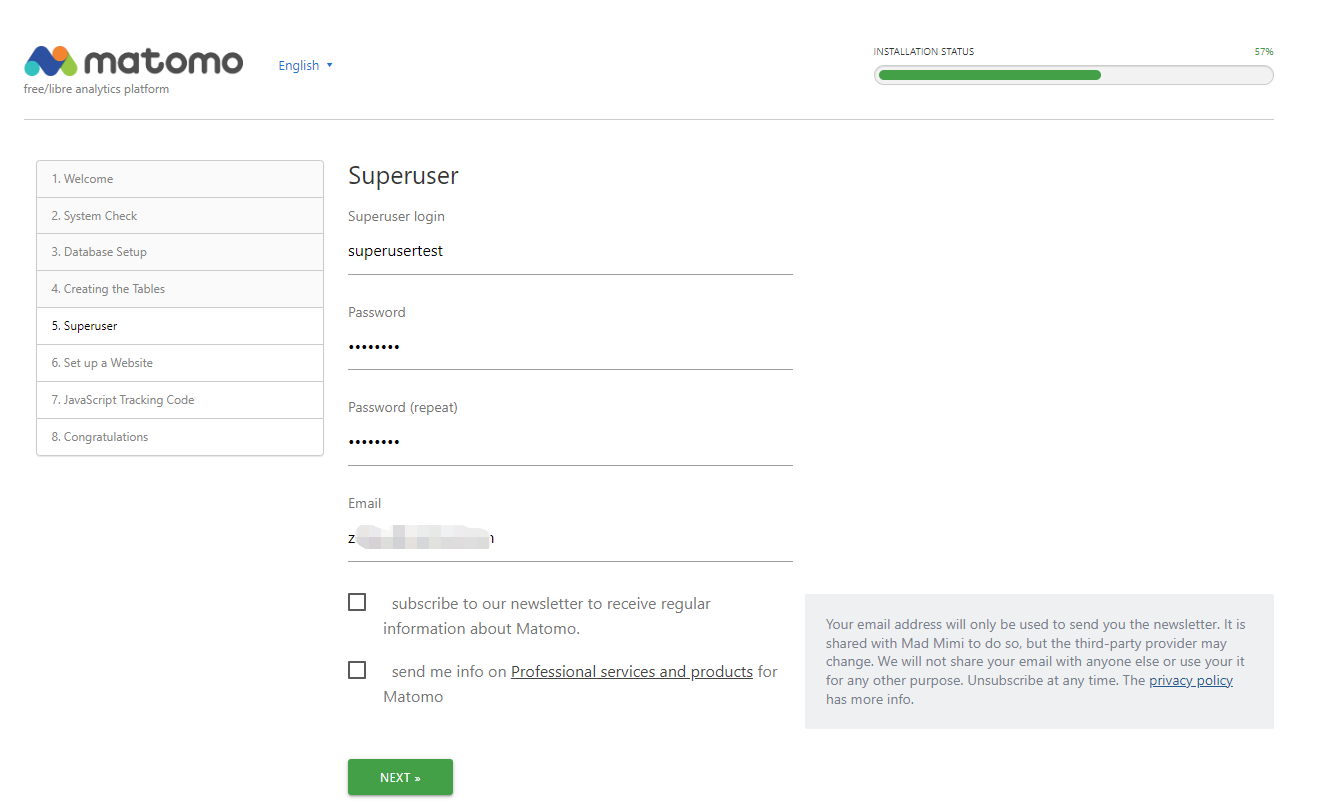
Super User
The super user is the user that you create when you install Matomo. This user has the highest permissions.
Note:
Do not lose this information; it is the only way for you to log in to Matomo for the first time. There is only one super user in each Matomo installation. The super user can perform administrative tasks such as adding new websites to monitor, adding users, changing user permissions, and enabling and disabling plugins.
Create your super user with the required information: Super user login, Password, and email. The email will be signed up for upgrade and security alerts, as well as for community updates. Uncheck these boxes if you do not want to receive these emails. After filling in the information, click Next.
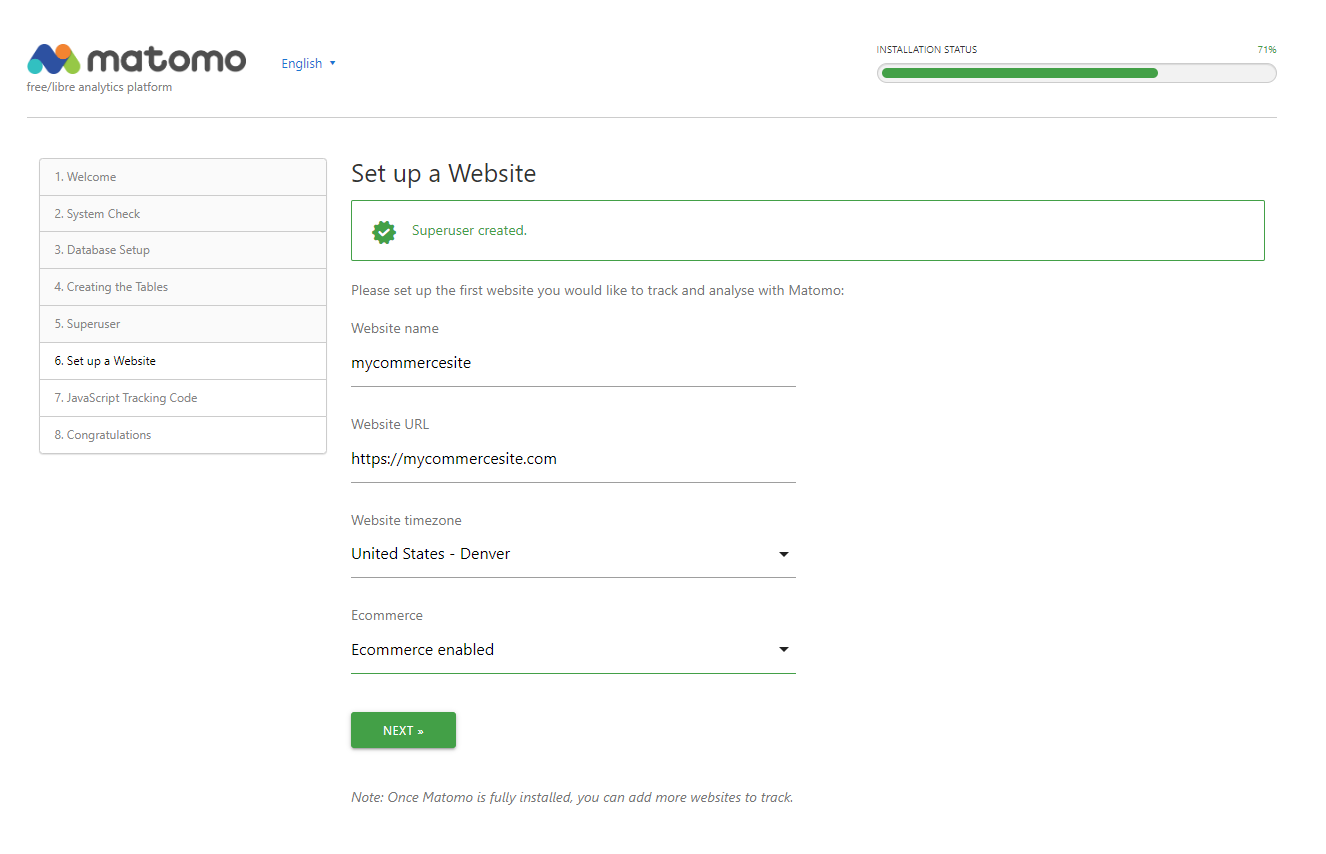
Set up a Website
Enter the name and URL of the first website you want to track. You can add more websites once the installation is complete. Then, click Next.
Install the JavaScript Tracking Tag
Matomo will issue you with a JavaScript tag. This code must appear on every page that you want Matomo to analyze. We recommend that you paste this code immediately before your closing </head> tag (or in a general header file that is included at the top of all your pages).
![]()
Copy this tracking tag and click Next.
Congratulations!
You have finised the installation. Once your tracking tag has been installed to your website, You will be receiving real anylytics data.
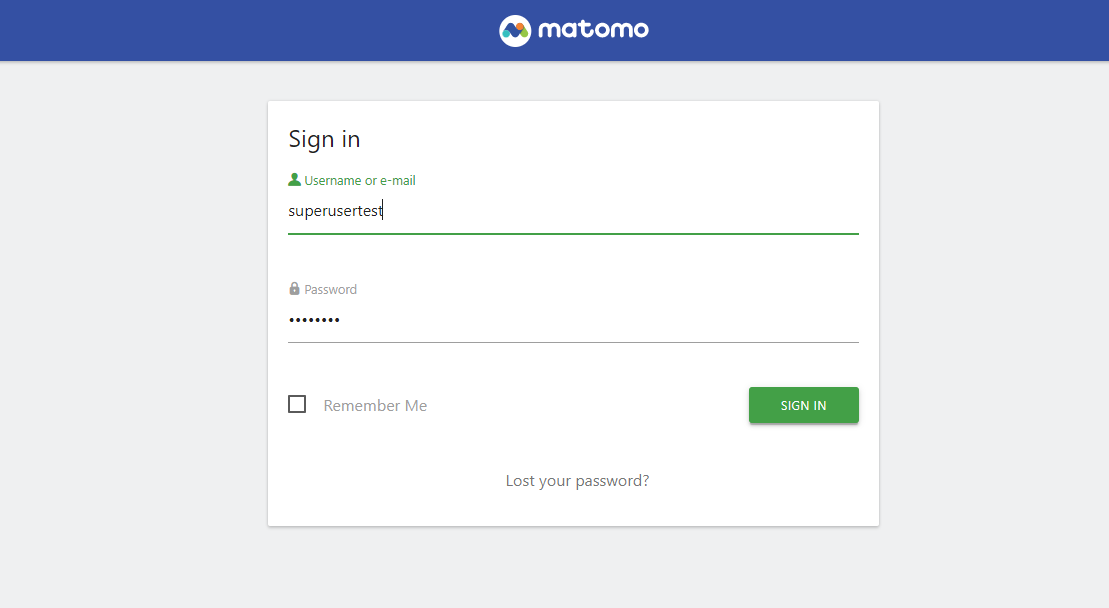
4. Log in to Dashboard
Now click CONTINUE TO MATOMO to log in to dashboard with the super user you just created.