How to Use File Manager to Manage Website Files
We provide a File Manager feature in the Client Panel so that web files in our cloud platform can be easily downloaded, uploaded, and deleted.
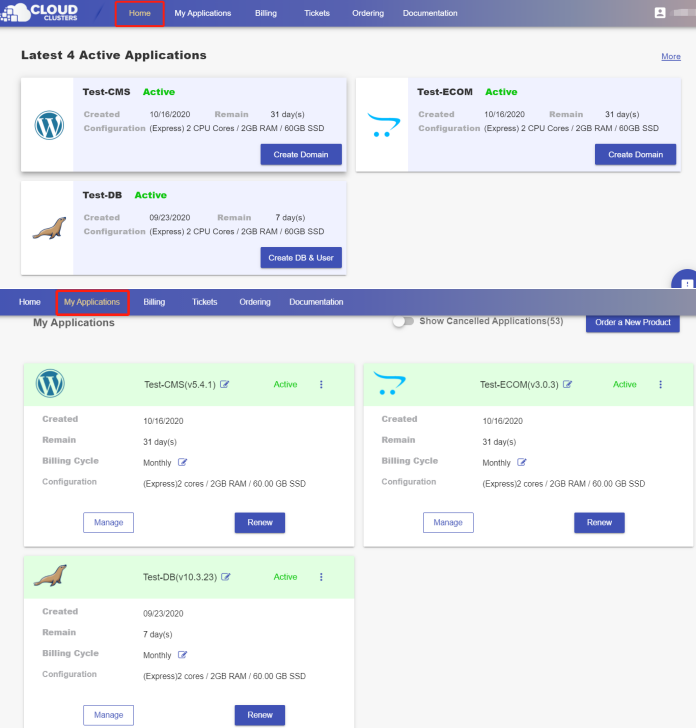
1. Locate the target application
Log in to the Control Panel and Locate your target deployment on the Home page or the My Applications page.
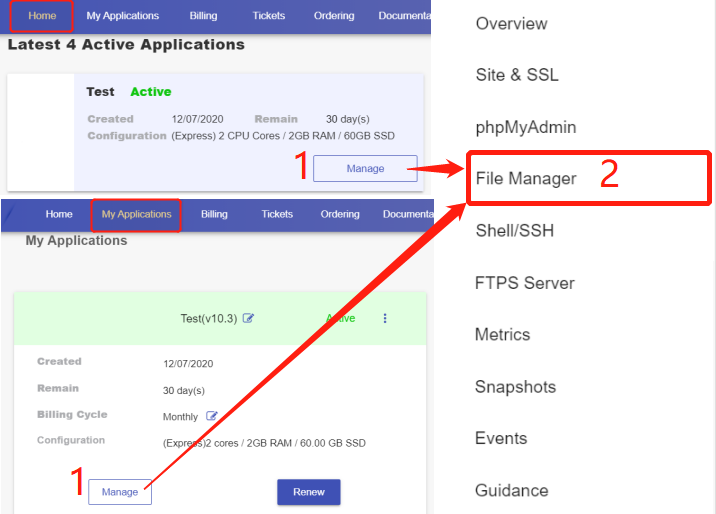
Go to the File Manager page by clicking the "Manage" button on the Home page or the My Applications page.
2. Understand buttons in the File Manager section
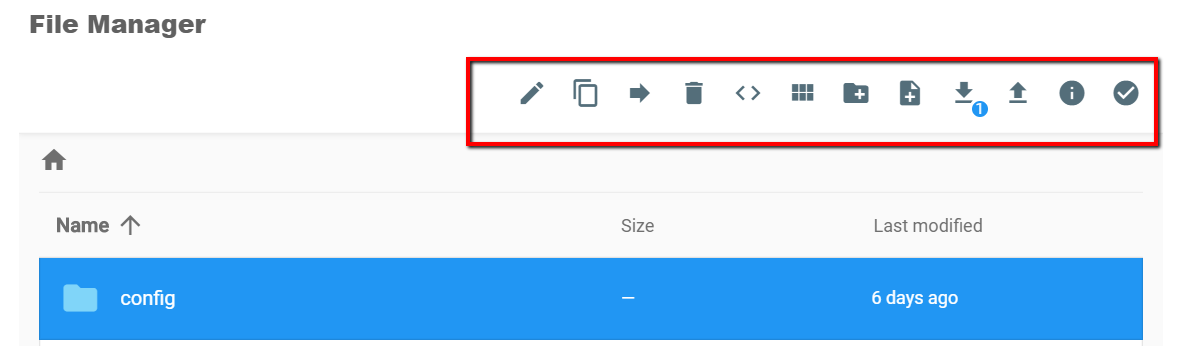
At the upper right corner of the File Manager, you will see a group of buttons.

Let’s quickly browse each button from left to right:
- Toggle shell – It executes "unzip XXXXXX.zip" in the shell or allows you to enter other queries.
- Switch view – There are two views for switching.
- New File – It allows you to create a file from a folder.
- New Folder – It lets you create a new directory.
- Upload– It opens a pop-up window that directs you to select a new file to upload.
- Download – It gives the options for downloading the files.
- Info – It shows file information.
- Select Multiple – It allows you to choose multiple items.
3. Make changes to a selected file or folder
The context menu will be activated once a specific file or directory is selected.
Let's browse each button from left to right.
- Rename – It is for editing the name of a file/ folder.
- Copy – The main function of “Copy” is to duplicate a file or folder to the same or different location.
- Move – It allows user(s) to transfer a selected file or folder to another directory.
- Delete –It permits user(s) to permanently erase a selected file or folder.