Adding/removing add-ons
Add-ons are designed to enhance your server resources so that they serve your business needs well. We currently provide several add-on items, including CPU cores, Memory, Disk space, and Backup space. This article will show you how to add or remove add-ons easily.
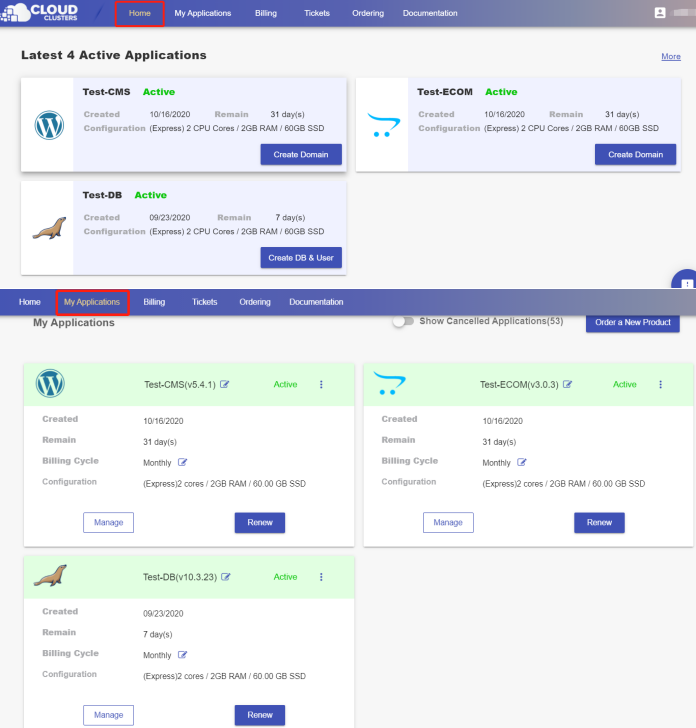
1. Locate target application
Log in to the Control Panel and locate your target deployment on the Home page or the My Applications page.
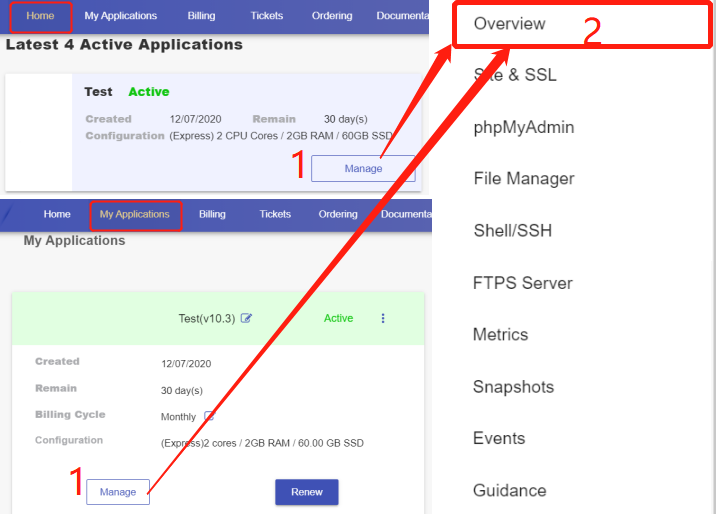
2. Go to the Overview page
Click the "Manage" button on the Home page or the My Applications page to go to the Overview page.
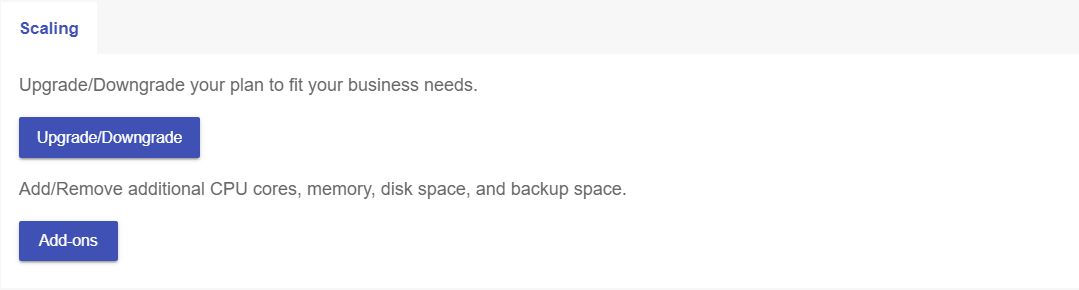
3. Add-ons
Then scroll down to the "Scaling" section. You will see the Add-ons button.
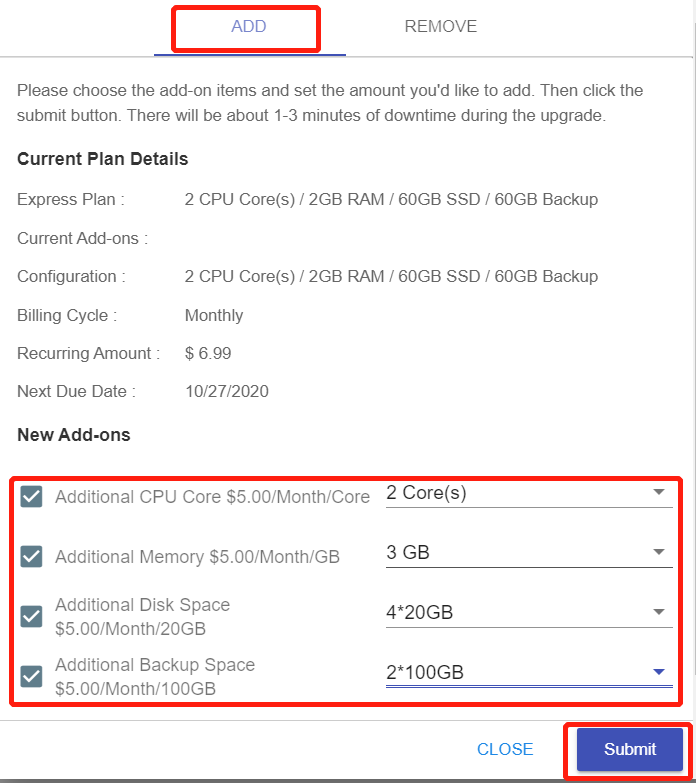
- Click the ADD-ONS button and select the ADD or REMOVE page as per your needs at the top of the pop-up box.
- Choose the target add-on items and set the amount you want to increase or decrease. You'd also want to confirm the recurring amount, making sure it's within your budget.
- Submit your request.
Note: No price differential needed when your app is a free trial one. The auto-upgrade/downgrade will start once the order is submitted. And the price differential will be charged or refunded when your app is a paid one.
There typically will be 1-3 minutes downtime during the upgrading/downgrading process.